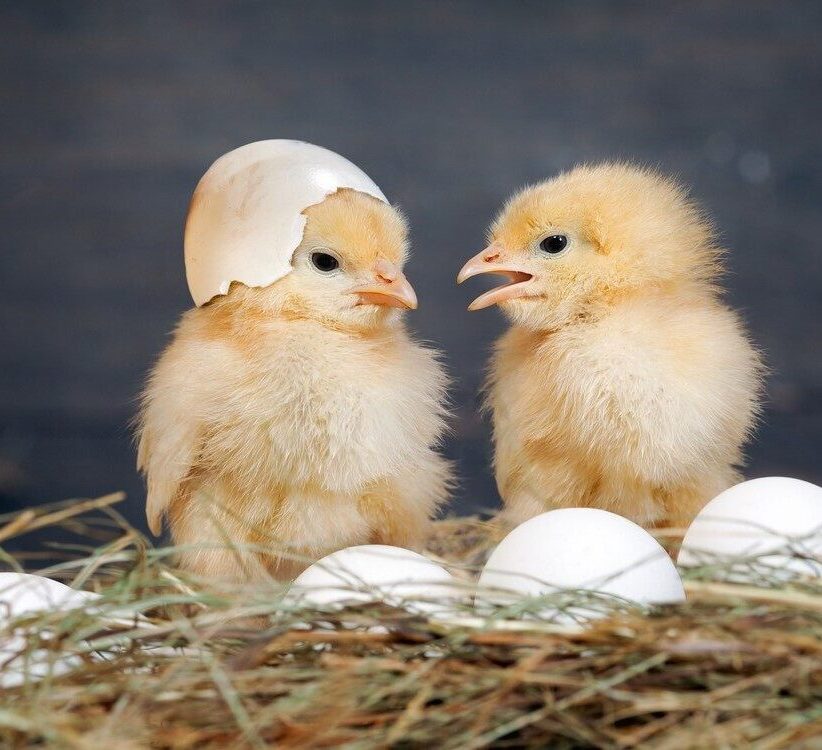
Making your own incubator at home can be a rewarding and educational experience. Hatching chickens can be a fun family project too. Buying an automatic incubator costs a lot of money. It is a simple process to make one at home. You probably already have the materials for making a simple incubator in your home. In this blog, we will cover the process of making an incubator and the process of hatching eggs with it.
Making the Incubator
- Arrange the Materials
The materials for making a simple incubator are easy to find. All you need are some simple things:
- Plastic or cardboard box: Choose a sturdy box that is large enough to accommodate your eggs or whatever you plan to hatch.
- 60-watt bulb: You’ll need a light bulb to maintain a consistent temperature inside the incubator. A 60-watt light bulb can work well.
- Regulator: You’ll need a regulator to adjust the temperature.
- Digital thermometer and humidity reader: To monitor the temperature and humidity inside the incubator accurately, you’ll need a reliable thermometer and humidity reader.
- Water container: A small container filled with water will help maintain humidity levels inside the incubator.
- Some dry straw or cloths: You need to keep the eggs on some dry straw or cloth and cover the top of the box to trap heat and maintain humidity.
- Making Process
- Install the light bulb: Install two sticks horizontally and vertically across the top middle of the box. Hang the light in the middle of the sticks. Alternatively, you can install it somewhere at the top of the box by cutting a hole. Make sure it is tight and secure. You can use a fan regulator to adjust the brightness and temperature. You should use a 25 or 60-watt bulb, but don’t go higher than 60 watts.
- Add the thermometer: Place the thermometer inside the box, near the eggs, so you can monitor and ensure the temperature.
- Nesting: Put some dry straw or cloth inside the box, so that you can keep your eggs on it.
- Create humidity: Fill a small container with water and place it inside the box. It will help maintain the necessary humidity levels for successful incubation.
- Cover the box: If you use a cardboard box, you don’t need anything extra to cover the top. For a plastic box, use cloth or plastic wrap to cover the box. This will trap heat and humidity.
- Test the incubator: Before putting eggs in the incubator, turn on the light and monitor the temperature and humidity. Adjust it to the optimal levels of between 98 and 101 degrees Fahrenheit and humidity between 50 and 70%.
Hatching Eggs
After making your incubator and adjusting the temperature and humidity, place your eggs inside the box. Mark (X) on the eggs or write the first date of incubation to keep track of which side is facing the heat. Rotate the eggs a quarter to half a turn 4 times every day. Keep monitoring the temperature and humidity. You can increase the temperature and humidity very slightly day by day, but don’t exceed the optimal level. After completing the first week of incubation, candle the eggs to detect infertile and bad eggs. You can hold an egg on your phone’s flashlight in a dark room to see inside. If you find any bad eggs, remove them from incubation. Do not rotate eggs in the last 3 days before hatching. On the 20th or 21st day, the chicks will break their shells, and it can take 12 hours to complete hatching. If some of the chicks haven’t come out of their eggshells, go ahead and remove the eggshell.
By following these simple steps, you can create a simple incubator at your home and embark on your own journey of hatching. Whether you are curious or a beginner, the experience of watching eggs hatch and new life begin is truly magical. So roll up your sleeves, gather your materials, and get ready to witness the miracle of birth in your own home!


